|
Newtonian astrograph users can now confidently take autocollimator focuser-axis alignment to the next level of precision WITHOUT THE NEED FOR A FOCUSER DRAWTUBE EXTENSION!
Click for Closeup
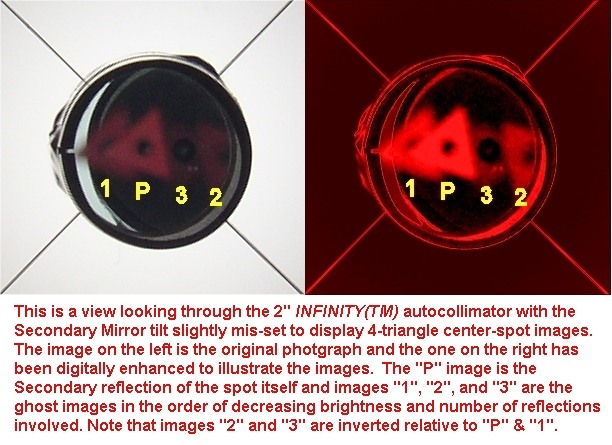
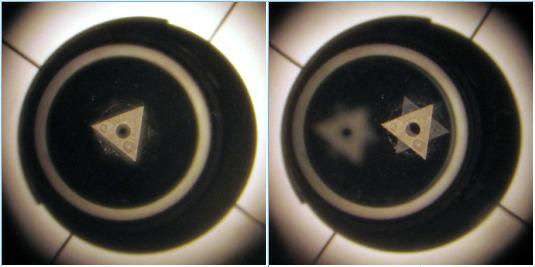
By design, Newtonian astrographs incorporate a "back-focus" position of the primary's native focal plane to facilitate image focus at the camera CCD chip. To negate collimation visual queue parallax error, an autocollimator's mirror surface must be at or near the position of the Primary's native focal plane.
See: Autocollimator Mirror/Focal Plane Separation, Cloudy Nights post 02/20/2010 - JASON KHADDER
Heretofore to compensate, imagers stacked an appropriate-length extension tube under their autocollimator to satisfy this constraint. Unfortunately, the increased focuser-axis skew potential of an additional mechanical section in the optical train is counter to collimation precision and has long been a common nemisis complaint.
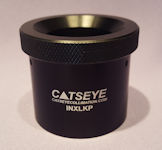
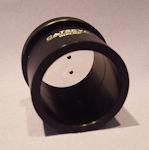
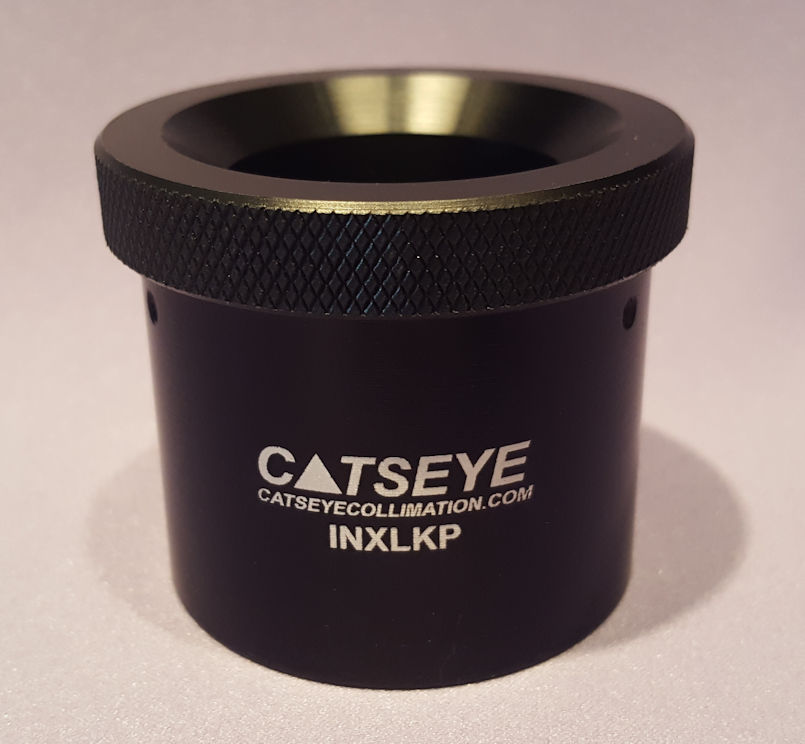
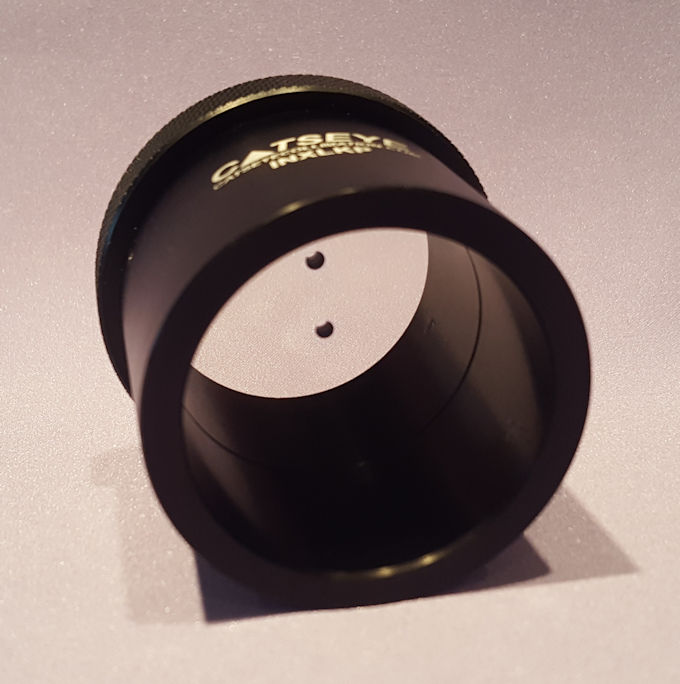
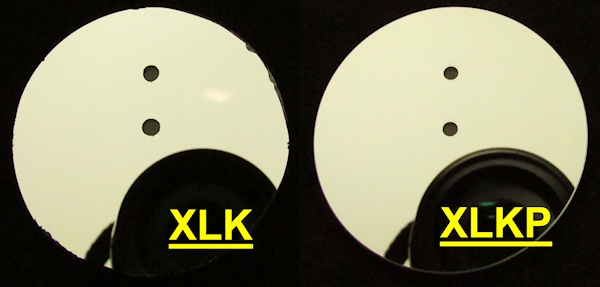
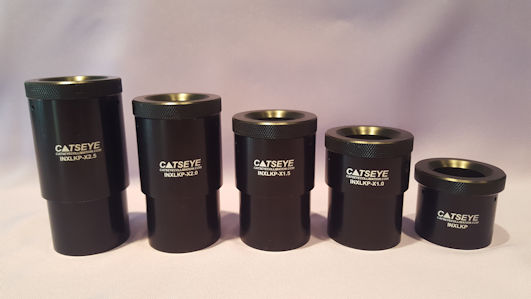
Enter the solution! CATSEYE is pleased to introduce the INFINITY XLKP-XTM line of autocollimators in 4 barrel extension lengths: 1.0 ", 1.5", 2.0", and 2.5".
|
Which Extended-Body Length Do I need?
Collimation using CATSEYETM tools is always done WITHOUT a corrector/reducer component in the optical path. To acertain the appropriate Extended-Barrel autollimator length to use, the Primary's native focal plane location (prime focus) relative to the focuser must be determined. This can readily be accomplished by first racking the focuser all the way down and then aiming the telecsope at the moon or distant terrestrial object. Place a translucent screen (example: waxed or parchment paper) above the focuser and move the screen up or down until the image is in focus. Measure the mm distance from the screen to the lip of the focuser drawtube (or 2" adapter). Use the chart in the diagram below to determine the extended-barrel length to use.
Click for Closeup
For Extended-Barrel A/C Selection options with precise focuser adjustment position settings, download this Excel Spreadsheet Calculator:
 Extended-body Autocollimator Selector Calculator Extended-body Autocollimator Selector Calculator
|
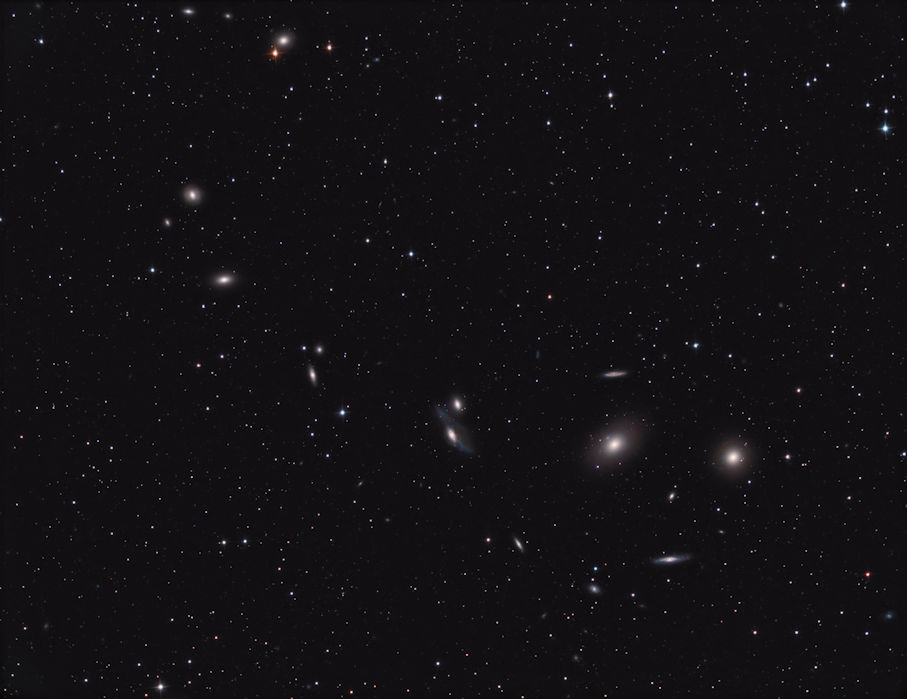
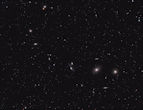
| Bernd Goosman shares his first-time experiences using CATSEYETM tools including the 1.5" extended-barrel XLKP-ATM. Below are his comments and imaging results using his both his 6" and 10" Newtonian astrographs:
3/19/2018 - "Yesterday night I tried the new extension-body autocollimator.... The toolset you sent me is VERY easy to use and TOTALLY uncomplicated! ... I was able to run my 6" f/2,8 and I got it collimated VERY quickly! This system is an original f/4 with an ASA-0.73x-reducer... Your system gives an extreme precise (and quick!) collimation even in the dark! I'm very happy having your tool as my first choice for collimation! Please see the picture (Makarian's Chain) attached ... The slight "out of shape"-stars in the edges of the picture are due to non exact focus because of temperature drop down during the 3h-capture. During initial focus the picture was undistorted and clean!"
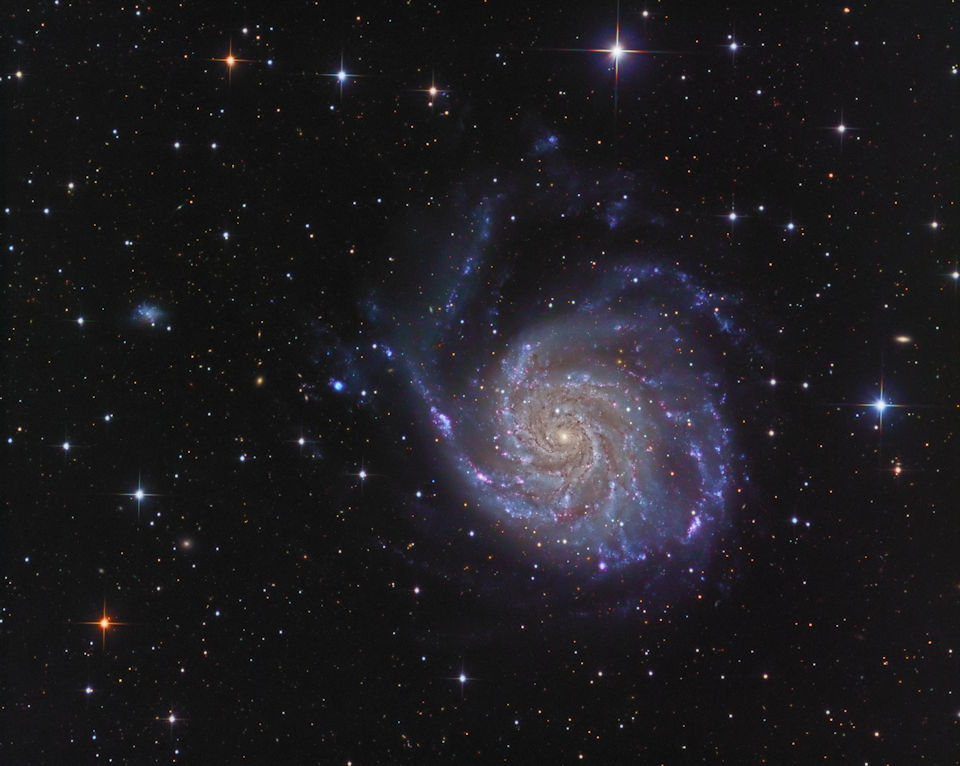
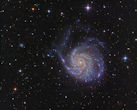
3/20/2018 - "... I captured M101 (Fireworks Galaxy) for 5,5h with my 10" Newtonian reduced to f/3.5 with the 0.73xASA-Reducer, ATIK460EXm on my G11. Temperature was around -3deg Celsius and winds around 10km/h. I squeezed it through PixInsight and I'm happy to see a "PERFECTLY collimated galaxy". Your toolset was totally save and uncomplicated to use as the night before! The only downside of the picture are some hotpixels which I didn't exterminate because I only used flats but no darks and no bias..."
Virgo Cluster (Makarian's Chain) - 3.0 hrs
Click for Closeup
| M101 (Fireworks Galaxy) - 5.5 hrs
Click for Closeup
| Buy Now!
| | | |